
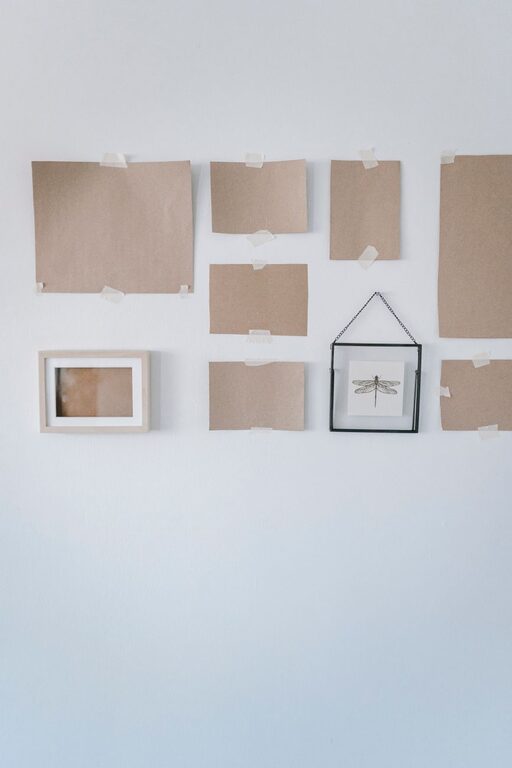
Decorating your walls can dramatically change the look and feel of your home. Whether you want to add a splash of color, texture, or personality, creating your own wall decor is both fun and rewarding. Best of all, many DIY wall decor projects are budget-friendly and simple to complete with everyday materials. In this post, we’ll explore easy DIY ideas that will inspire you to transform your plain walls into eye-catching displays.
Why Choose DIY Wall Decor?
DIY wall decor lets you customize your space exactly to your taste and style. Instead of expensive artwork or store-bought decorations, you get something unique and meaningful. Plus, working on creative projects can be a relaxing and enjoyable experience. With just a few supplies and some creativity, your walls can become a reflection of your personality.
1. Gallery Wall with Printables and Photos
A gallery wall is a classic way to fill empty wall space with style. You can create one using a mix of framed printables, photographs, and even small art pieces.
What You Need:
– Printable art or posters (download free or purchase online)
– Personal photos printed in your preferred size
– Frames in various sizes and styles
– Picture hanging tools (hooks, nails, or adhesive strips)
How to Do It:
- Collect your printables and photos.
- Arrange the frames on the floor first to find a layout you like.
- Start hanging from the center and work outwards to maintain balance.
- Use level tools to keep frames straight.
This approach allows you to display memories and designs that inspire you while making your wall a personalized art gallery.
2. Decorative Wall Hangings with Yarn or Macramé
Yarn and macramé wall hangings add a cozy and boho vibe to any room. They’re perfect for living rooms, bedrooms, or even entryways.
What You Need:
– Yarn or cotton rope in your favorite colors
– A wooden dowel or branch
– Scissors and measuring tape
– Optional: beads or feathers for decoration
How to Do It:
- Cut strands of yarn or rope to your desired length.
- Attach the strands to the dowel using simple knots.
- Create patterns by trimming ends or tying additional knots.
- Add beads or feathers for extra flair.
Wall hangings are tactile and visually interesting, bringing warmth and texture to your space.
3. Floating Shelves for Functional Art
Floating shelves are practical and decorative, giving you space to display plants, books, or small decor pieces.
What You Need:
– Floating shelf kits or wooden planks and brackets
– Wall anchors or screws
– Drill and screwdriver
– Level
How to Do It:
- Choose the wall area where you want shelves.
- Use a level to mark where the brackets will go.
- Drill holes and install anchors if needed.
- Attach brackets and place the wooden shelves.
- Decorate with small plants, candles, or figurines.
Shelves add dimension to a wall and let you change decor easily.
4. Washi Tape Wall Art
If you want to add patterns or shapes without damaging walls, washi tape is perfect. It’s colorful, removable, and can be used to create geometric designs, stripes, or even murals.
What You Need:
– Washi tape in different colors and patterns
– Measuring tape or ruler
– Pencil for light marking
How to Do It:
- Plan your design on paper or mark lightly on the wall.
- Peel and stick washi tape along the lines.
- Use scissors or a craft knife to trim edges neatly.
Washi tape is great for renters or for those who like changing their decor frequently.
5. Upcycled Frame Collages with Fabric or Paper
Bring old frames back to life by filling them with colorful fabric scraps, wallpaper pieces, or scrapbook paper. This adds pattern and interest without needing to hang photos or art.
What You Need:
– Old picture frames
– Fabric scraps or decorative paper
– Scissors and glue or double-sided tape
How to Do It:
- Remove glass and backing from the frames.
- Cut fabric or paper to fit inside the frame.
- Secure the fabric or paper inside with glue or tape.
- Arrange framed patterns on the wall in a collage style.
This method offers a great way to recycle frames and introduce new textures and colors into your home.
6. DIY Wooden Wall Art
For a rustic or natural look, simple wooden wall art pieces can be made from pallet wood or craft sticks.
What You Need:
– Wood planks or sticks
– Sandpaper
– Paint or stain (optional)
– Nails or wood glue
How to Do It:
- Sand the wood pieces to remove rough edges.
- Paint or stain them if desired.
- Arrange and glue or nail pieces together to form shapes or abstract designs.
- Attach a hook on the back for hanging.
Wood art adds warmth and a tactile element to your walls.
Tips for Successful DIY Wall Decor
– Measure your wall space before starting to ensure your decor fits nicely.
– Choose colors and materials that complement your existing furniture and style.
– Use removable hanging options if you want the flexibility to change your decor often.
– Don’t be afraid to mix and match different textures and materials for visual interest.
– Keep safety in mind, especially when hanging heavy items.
Conclusion
Easy DIY wall decor projects are a wonderful way to personalize your living space without spending a lot of money. From gallery walls to washi tape art and cozy yarn hangings, there’s a simple idea for every style and skill level. So gather your supplies, embrace your creativity, and start transforming your walls into beautiful expressions of your personality today!